

Hey everyone, let's cut to the chase here – I get asked this question non-stop by clients, curious DIYers, and even some fellow metalworkers: Can stainless steel plates be polished to a mirror finish? And as a guy who's been supplying stainless steel plates for over a decade (you know the stuff, the stuff we ship straight to fab shops, home improvement joints, and custom fabrication guys everywhere), I'm here to give you the real, no-BS answer.
First off, let's clear up the most common myth: people think stainless steel's stain-resistant properties mean it's somehow "too tough" or "too smooth" to get that perfect mirror shine. Nope, that's not true. In fact, stainless steel is one of the best metals for a mirror finish, which is why you see it on everything from commercial kitchen hoods to high-end car trim, even custom water features that need to look sharp and stand up to the elements. Now, before I dive into the hows and whys, let's make sure we're all on the same page with what we're talking about – that's why I linked our stainless steel plates here, because not all stainless is created equal. The type you start with makes all the difference when it comes to polishing.
Wait, hold up – let's not skip that part about the grade. When I'm helping a client pick stainless steel plates, the first question I ask is, "What's this for?" If it's for a mirror finish, 304 and 316 grades are the workhorses here. 304 is the go-to for most indoor and even mild outdoor jobs – it's got enough chromium and nickel to resist corrosion and take a polish like a dream. 316, on the other hand, is for harsher environments – think coastal areas or industrial sites with salt or chemicals, and it still polishes to that mirror finish without flaking or discoloring down the line. You won't get that kind of result with cheaper grades like 409, which are more for exhaust systems or structural parts – they just don't have the alloy makeup to hold that fine polish. That's why when folks come to us for stainless steel plates, we always make sure to match the grade to their finish goal, because starting with the wrong stock is like trying to polish a rock into a mirror – it's not gonna happen.
Now, let's talk about the polishing process, because that's where the magic (and the hard work) happens. A lot of people think you can just grab a buffer and a rag and buff it to shine, but mirror finishing stainless steel is a step-by-step grind and polish process – no shortcuts here. First, you start with a coarse grit, like 80 or 120 grit sandpaper, to take out any major scratches, mill marks, or imperfections that come straight from the mill when we ship our stainless steel plates. Then you move to finer grits – 220, 320, 400, 600, 800, even 1200 grit – each time going over the surface in a different direction to eliminate the scratch lines from the previous step. If you skip a grit, you'll see those lines in the final polish, trust me – I've seen it a hundred times when clients try to save time and end up with a surface that's shiny but has hidden scratches that show up in the light.
Once you get to the ultra-fine grits, you switch to polishing compounds. First, a rough compound (usually a red or brown compound) on a stitched buffer wheel to bring up a dull shine, then a finer compound (white or green) on a loose wheel to work out any remaining haze. Some folks even use a final buff with a clean cloth and a little stainless steel polish to add that extra pop. And here's a pro tip: if you're doing this at home, always use water-based lubricants when sanding – they keep the metal cool, prevent burning (which ruins the finish), and wash away the metal dust so you can see what you're doing. For the pros using industrial buffers, they use similar lubricants but on bigger, faster wheels, obviously.
Wait, but what about those little things that can mess up a perfect mirror finish? Like surface contamination. If your stainless steel plate has even a tiny bit of oil, grease, or even iron particles from being worked with regular steel tools, that can show up as a dark spot or a haze after polishing. That's why when we package our stainless steel plates, we wrap them in protective plastic to keep them clean – and we always tell clients to clean the surface with isopropyl alcohol before starting any polishing. I've had a client come to me once with a stainless steel plate he tried to polish for a custom fireplace hood, and he ended up with rust spots all over because he used a steel wire brush to clean it first. Rookie move – stainless can't handle cross-contamination from other metals, so keep that steel tools away if you're polishing.
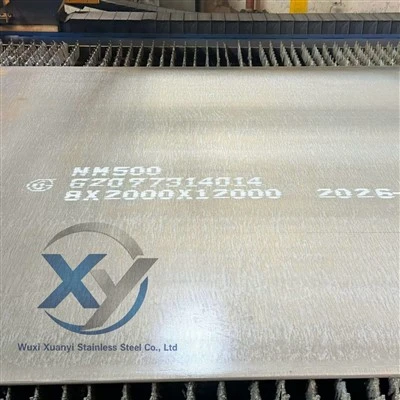
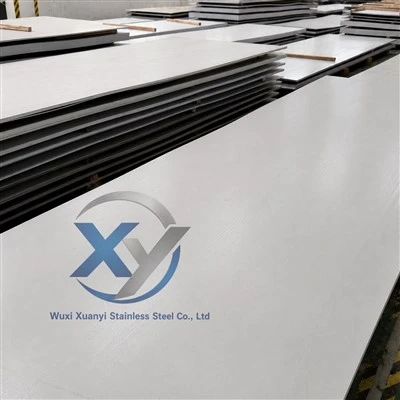
Another thing to consider: the thickness and flatness of the stainless steel plate. If a plate is warped or has deep mill marks, you'll never get a true mirror finish – you'll end up with a wavy surface that distorts reflections. That's why we quality check every single stainless steel plate we ship, making sure they're flat, free of deep scratches, and have a consistent mill finish that's ready for polishing. We even offer pre-polished stainless steel plates for clients who don't want to do the work themselves, but most folks who come to us want to know how to do it themselves, so they can customize the finish for their project.
Let's talk about some real-world examples, because that's what this is all about. Last year, I worked with a local custom kitchen guy who was doing a high-end restaurant renovation – he wanted all the kitchen hoods to have a mirror finish. He bought 12-gauge 304 stainless steel plates from us, and his team spent about 8 hours per hood sanding and polishing, starting at 80 grit and working all the way up to 1200 grit, then finishing with a buffer and white compound. The result? Hoods so shiny you could see your face in them, and they've held up for over a year with no scratches or discoloration from the grease and heat in the kitchen. Another client, a guy who builds custom outdoor water features, used 316 stainless steel plates from us, polished them to a mirror finish, and installed them by the ocean – two years later, they still look like they just came out of the polisher. The salt air hasn't hurt them at all, which is why 316 is the right pick for outdoor mirror finishes.
Now, let's address the "can it really be done" part one more time, because I know some folks are still skeptical. Yes, you absolutely can polish stainless steel plates to a mirror finish – but it's not as easy as polishing a piece of jewelry, and it requires patience, the right tools, and the right starting material. You can't take a cheap 409 stainless steel plate, grab a dollar-store buffer, and expect a mirror finish – that's like trying to paint a masterpiece with a crayon. But if you use a proper grade of stainless steel, follow the step-by-step sanding and polishing process, and take your time, you'll get a finish that's smooth enough to reflect light like a mirror and durable enough to last for years.
One common mistake I see people make is rushing through the grit steps. Like, they sand at 220 grit, then jump to 600 grit, and wonder why they still see scratches. Each grit is designed to remove the scratches from the previous one, so if you skip a grit, those deeper scratches stay there forever. I always tell clients to take their time, spend 10-15 minutes on each grit, and make sure all the previous scratches are gone before moving on. For small projects, that's manageable in a day; for bigger projects, like a full set of kitchen appliances or a large water feature, it might take a couple of days, but the end result is worth it.
Another thing to keep in mind is that a mirror finish on stainless steel is actually a semi-reflective or high-reflective finish, not a perfect mirror like a glass mirror. It'll reflect distorted images, not clear, sharp reflections, but it's still shiny enough to look like a mirror from a distance. If you need a perfectly clear mirror, you'd use glass with a silver backing, but for metal projects that need to be durable and look sharp, stainless steel mirror finish is the way to go.
So, if you're someone who's thinking about polishing your own stainless steel plates, here's my advice: first, pick the right grade (304 for indoor, 316 for outdoor), make sure the plates you get are flat and free of deep imperfections, invest in good sandpaper and polishing compounds, don't skip grit steps, and take your time. And if you're not sure where to start, or you want to skip the polishing work altogether, reach out to us for stainless steel plates – we can help you pick the right material, or even connect you with local polishers who can do the work for you.
At the end of the day, I've been in this game long enough to know that folks don't just buy stainless steel plates for their durability – they buy them for the look, too. A mirror finish on stainless steel adds a touch of professionalism and luxury to any project, whether it's a custom kitchen, a car part, or an outdoor feature. And the good news is, it's totally achievable – you just have to do it right from the start.
If you're ready to get started on your project, or you have more questions about stainless steel plates and finishes, don't hesitate to reach out to our team. We're here to help you get the right material for your job, whether you're a seasoned pro or just starting out. We've got all the grades you need, from raw mill plates to pre-polished options, and we can answer any questions you have about polishing or installation.
References
- ASM International. (2019). Metals Handbook: Volume 15: Surface Engineering. ASM International.
- Brandes, E. A., & Brook, G. B. (Eds.). (1998). Smithells Metals Reference Book (7th ed.). Butterworth-Heinemann.
- stainless steel plate polishing industry guide. (2021). Metal Finishing Association of North America.
- The making of stainless steel mirror finishes. (2020). Journal of Materials Processing Technology, 285, 116892.